
AutoCorrect is a useful feature in Microsoft Word that, like Android, examines your spelling and corrects it automatically. Everyone is aware of how frequently the Android feature causes aggravation. Microsoft Word is no exception, especially for quick typers. This assertion is based on word auto-correction rather than predictive text. Microsoft Word’s AutoCorrect feature occasionally corrects misspelled words to something that doesn’t match the sentence or phrase. Still, it’s quite effective at understanding what you mean and leaves most phrases alone. However, inputting model numbers, business names, acronyms, HTML, proper nouns, or other sorts of code wrongly assumes you spelled a word.
You’ll find yourself in places you shouldn’t be. For example, in HTML, Word will modify the punctuation. Strangely spelled business or product names are corrected to genuine words. In a quiz or while referencing something, you might wish to use a purposely misspelled word. The list goes on and on. Fortunately, you can turn off the AutoCorrect feature in various versions of Microsoft Word. Continue reading to understand how to disable this useful feature and find answers to frequently asked topics, such as changing your AutoCorrect language setting and adding or removing words from the feature.
How To Easily Turn Off AutoCorrect On Microsoft Word On A Windows PC?
Here, we’ll concentrate on the various Microsoft Word versions rather than the various Windows operating systems. The steps may differ somewhat between Windows versions, but the basic concept remains the same.
Microsoft Word 2003 And Earlier
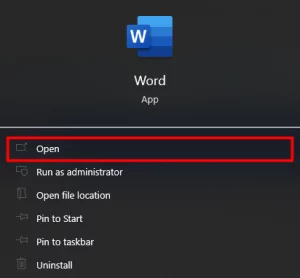
1 – Launch “Microsoft Word.”
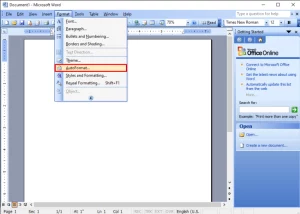
2 – From the “Format” menu, choose “AutoFormat.”
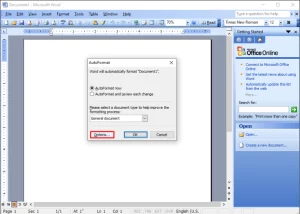
3 – Select the “Options” tab.
4 – Scroll down to the drop-down menu and choose “AutoCorrect.”
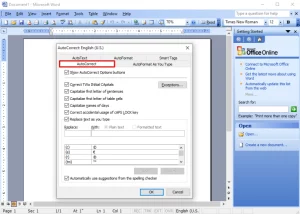
5 – Turn the “option boxes” to enable or disable different AutoCorrect features.
You may add more automatic corrections for words you commonly misspell and remove words you don’t want to be corrected.
Microsoft Word 2007
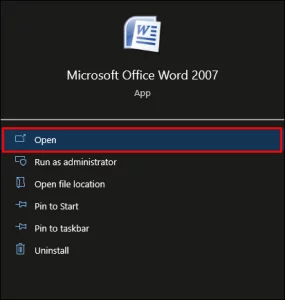
1 – Launch “Microsoft Word.”
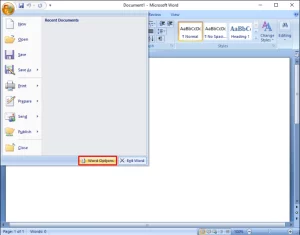
2 – Select the “Office” button in the upper-left corner.
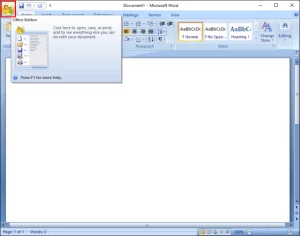
3 – From the drop-down menu, choose “Options.”
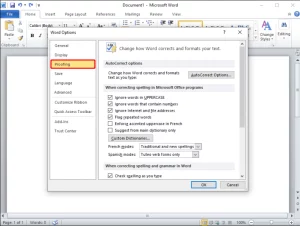
4 – In the “Word Options” box, select the “Proofing” option.
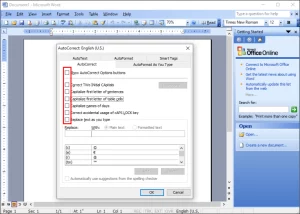
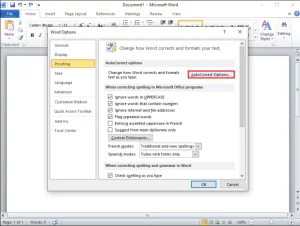
5 – Navigate to the “AutoCorrect Options” section and click the “AutoCorrect Options…” button.
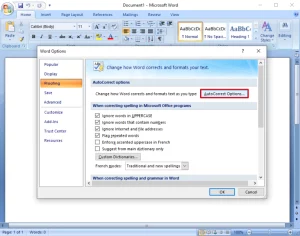
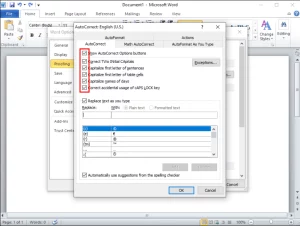
6 – Check the “options boxes” (features) you wish to turn on/off, then click “OK.”

You may also add extra corrections or remove words that you don’t want to be corrected.
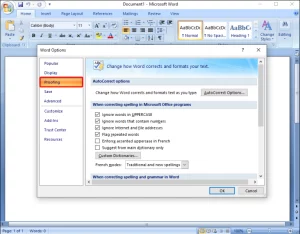
Microsoft Word 2010 And 2013
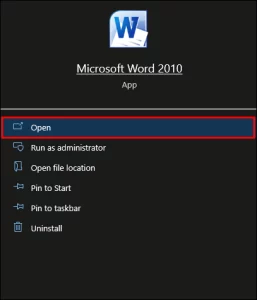
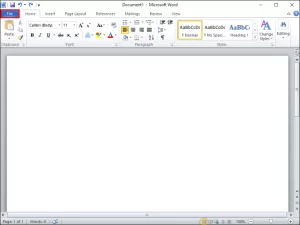
1 – Launch “Microsoft Word.”
2 – Choose the “File” tab.
3 – In the left menu, select “Options.”
4 – Select the “Proofing” option in the Word Options menu.
5 – On the right side, under the “AutoCorrect Options” section, choose “AutoCorrect Options.”
6 – Check the “options boxes” to personalize or disable the AutroCorrect feature.
Microsoft Word 2016 And Later
1 – Launch “Microsoft Word.”
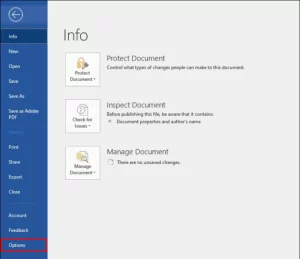
2 – Select the “File” tab.
3 – Choose “Options” in the bottom-left corner.
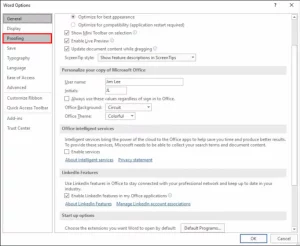
4 – In the “Word Options” menu, select “Proofing.”
5 – Click the “AutoCorrect Options” button.
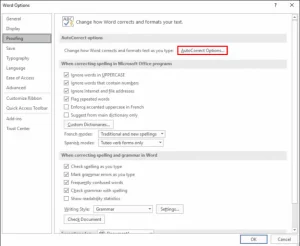
6 – Check the “options boxes” for features you want to be enabled or deactivate a specific feature you don’t want.
You may add more automatic corrections or remove words you don’t want to be corrected, just as in previous versions of Word.
How To Easily Turn Off AutoCorrect In Microsoft Word On A Mac?
The steps for turning off Autocorrect in Microsoft Word on macOS are similar to those for Windows, with minor differences depending on your Word version.
Microsoft Word 2003 And Earlier
1 – Launch “Microsoft Word.”
2 – Select “AutoFormat” from the “Format” option.
3 – Choose the “Options” tab.
4 – Select the “AutoCorrect” option.
5 – You can disable specific features and/or all of them. Check or uncheck any boxes to enable or turn on the feature.
You may also add extra automated corrections for commonly misspelled words. You may also delete any that you do not want automatically corrected. In the latter instance, AutoCorrect will not check words that have been deleted from its dictionary.
Microsoft Word 2007
1 – Launch “Microsoft Word.”
2 – In the top-left corner, select the “Office” button.
3 – Select “Options” from the drop-down menu.
4 – Choose the “Proofing” option in the “Word Options” window.
5 – Select “AutoCorrect Options” from the drop-down menu.
6 – Select the features you want to disable or enable. Checked boxes enable that the feature is enabled.
In the same menu, you may add further changes or remove words that you don’t want to be corrected.
Microsoft Word 2010 And 2013
1 – Launch “Microsoft Word.”
2 – Select “File” from the drop-down menu.
3 – In the left menu, select “Options.”
4 – Select “Proofing” from the “Word Options” menu.
5 – Select “AutoCorrect Options.”
6 – Choose the features you want to disable or disable AutoCorrect completely.
Microsoft Word 2016 And Later
1 – Start “Microsoft Word.”
2 – Choose the “File” tab.
3 – In the left pane, select “Options” in the bottom-left corner.
4 – Select “Proofing” from the “Word Options” window.
5 – Click the “AutoCorrect Options” button.
6 – Turn off “AutoCorrect” and/or a “specific feature” you dislike.
Well, you may add more automated corrections or delete words that you don’t want to be corrected automatically, just as in previous versions.
FAQs:
Is It Possible To Use AutoCorrect With Other Languages Besides English?
Yes! AutoCorrect supports a wide range of languages. However, take in mind that other languages may have more bugs. Follow these steps to select a new language:
1 – Select “Review” and then “Language” and “Language Preferences.”
2 – Navigate to “Office authoring languages and proofreading” and select the desired language.
3 – Select “OK.”
How To Easily Add Or Remove AutoCorrect Entries?
As previously said, you can add or remove words that you do not wish to be automatically corrected. Check these steps to add automated corrections:
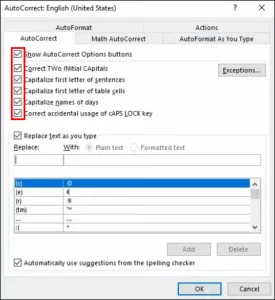
1 – Select the AutoCorrect tab.
2 – In the “Replace” box, type in a word or phrase you commonly misspell.
3 – Type the word’s correct spelling in the “With” box.
4 – Select “Add.”
To remove corrections, follow these steps:
1 – Select the AutoCorrect tab.
2 – In the “Replace” box, type the word you wish to remove from the list.
3 – Select an entry from the list.
4 – Select the “Delete” button.
Conclusion:
Finally, most people use the AutoCorrect features to help them write or examine huge files. However, it may be more of a distraction for certain people. While tools like AutoCorrect are intended to improve a user’s experience, they are not without problems. The feature may need help deciding whether to correct spelling or substitute words, resulting in errors that must be corrected manually. AutoCorrect should be turned off while typing HTML, proper nouns, oddly spelled business names, abbreviations, and so on. However, you may modify the options under AutoCorrect settings to correct frequent errors without completely removing the feature.