
Follow our super easy step-by-step guide on fixing the external hard drive access denied error on Windows 11 if you are looking for solutions to the “Access Denied” error when opening an external hard drive.
Getting an error is always frustrating no matter what system we use or how much we can do. We worry that we can’t use external hard drives because of this error, no matter why we want to.
But that doesn’t mean it can’t be fixed. There are easy ways to fix all of these problems. So let’s start without delay. But before we go there, let’s find out why the trouble is.
What Caused Access Denied Error on Windows 11
Windows users often get access-denied failures when they try to access an external hard drive. This is a common error, which tells us that there are a few reasons why you might encounter the problem.
- Malware and a hard drive with viruses on it.
- The hard drive is inaccessible.
- Who owns what?
- The hard drive that is broken or damaged.
- Hardware problem or faulty link.
How to Fix External Hard Drive Access Denied Error on Windows 11
Follow these steps to use one of the tried-and-true ways to fix the error “Hard Drive Access Denied” in Windows 11.
1. Scan Drive on File Manager
The new File Manager in Windows 11 works better than the old one. You can scan or check the drive, though. This is how:
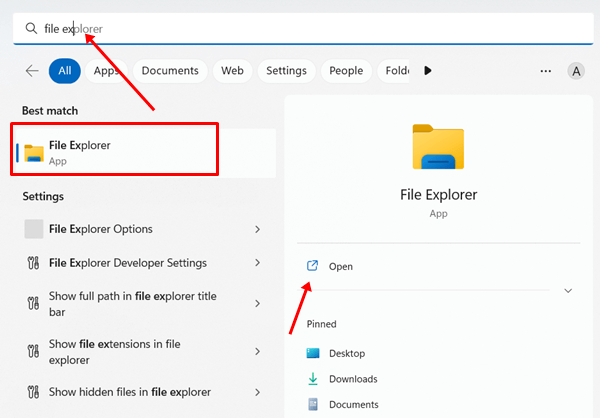
- Open File Manager by going to Windows Start > Search for it. open file explorer.
- Go to This PC now.
- Right-click on the external drive to choose it. Then, from the list, select Properties.Things about an external drive

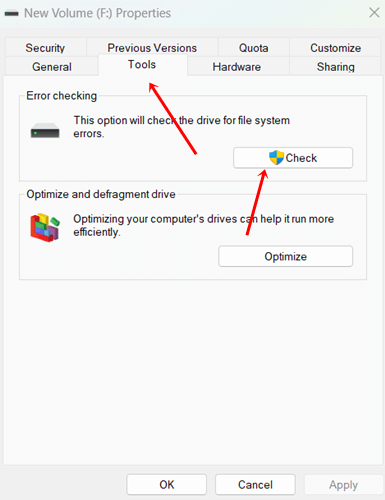
- Head over to Tool and click Check. A new window will open. Tool, then click the Check.
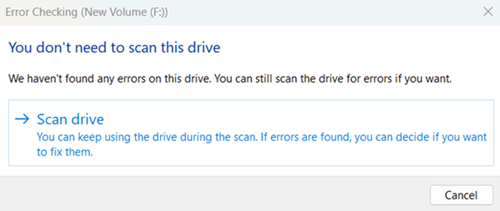
- The error-checking windows tell you what the problem is with the drive. If you still need to, you can start the process of scanning the drive. start the process of scanning
2. Check the Connectivity Issue
Scan the drive before trying any more complicated troubleshooting methods. Another requirement you must follow is to check for connection problems.
You have to check to see if the connection is in good shape. Also, the USB port can sometimes be broken, so you must watch out for that. Last but not least, remember to test the wire.
And finally, pay close attention to the drive. If your system doesn’t have a good connection, it will send this kind of error. So make sure everything is fine with how the drive connects.
3. Perform CHKDSK
CHKDSK had always helped when there were problems with a disk, whether it was an internal or an external disk. So the best method is to run CHKDSK.
- First, make sure your external hard drive is connected.
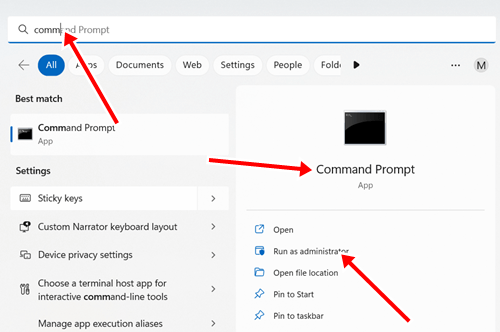
- Click Run as an administrator in the Windows Start menu, then type “Command Prompt.”Open the command window as an administrator
3. Now, copy this command and paste it over CMD. Remember to use the letter for your external drive instead of the name.
chkdsk /f (drive name):
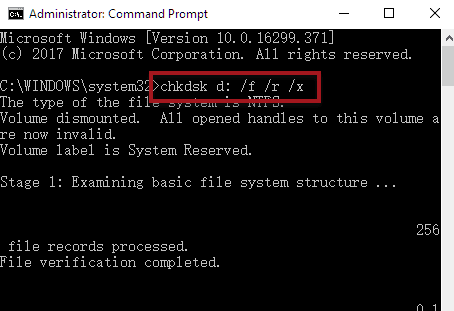 4. chkdsk C: /f /r /Your drive will be scanned and fixed in just a few minutes. After that, check to see if the drive is still available.
4. Become the Owner of the External Drive
The problem can be traced to a problem with who owns the drive. The system will keep sending this error until you take ownership.
- Open File Manager by going to Windows Start > Search for it. open file explorer
- On This PC, click next.
- Right-click on the external drive to choose it. Then, from the list, select Properties.Things about an external drive
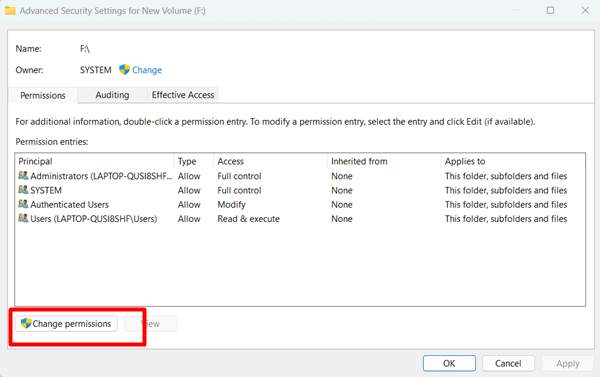
- Head to Security, then click the Advanced choices in the open window. click on the More Options button

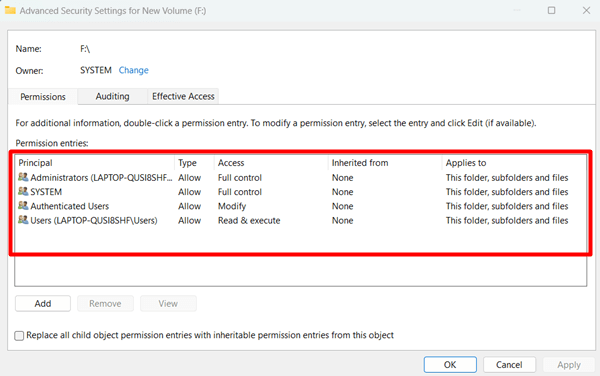
- Click Change permissions next. Change the rules.
- Now, double-click on the username you want to give access to. Click twice on the username.
- Like This folder, subfolders, and files from the list on the next page’s dropdown menu, which is called Applies to. select This folder, its subfolders, and files
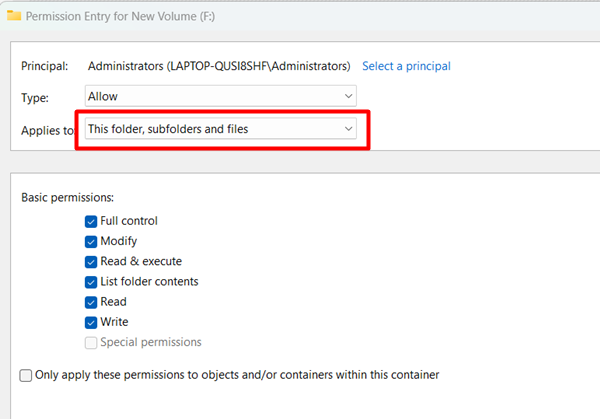
- Lastly, click the OK button to save these changes. Then restart your system. If the problem were caused by a problem with who owns the drive, it would be fixed.
5. Enable Administrator Account
Here’s another helpful method to fix the access denied error. This will let you access files, folders, and paths that have been locked down.
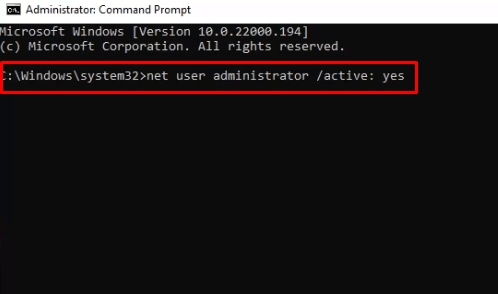
- Click Run as an administrator in the Windows Start menu, then type “Command Prompt.”Open the command window as an administrator
- Copy this command, paste it into the CMD, and hit the enter key.
net user administrator /active:yes
 It will enable an administrator account. Use this command to disable it.
net user administrator /active: no
Switch on the Administrator AccountIt will set up an account for an administrator. Could you turn it off with this command?
6. Temoparary Disable Third-Party Antivirus Software
It makes sense that we need security software to keep our saved data and information safe and secure. Even when viruses and bots try to attack, it helps.
Antivirus software works by using algorithms. Many users have also found that the Tool won’t let them run certain apps. Antivirus software may therefore be the reason for the access denied problem.
You don’t have to get rid of the software. Instead, you can turn it off for a while and check to see if the access denied message has disappeared.
7. Reset User Permission
Use this method on your system’s counter of the “access denied” error if you need to change custom access rules.
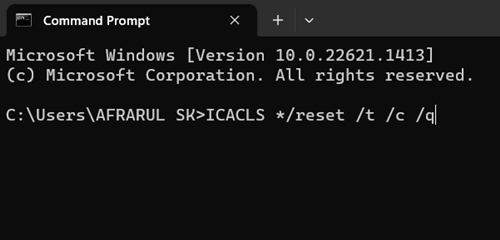
- Open the Command Prompt by selecting Windows Start > Search for it.
- Then, copy this command, paste it into the CMD, and press enter.
-
ICACLS */reset /t /c /q
 This will put things back to how they were before.
8. Change the Drive Letter
Different files are named with different letters in Windows. But you can also change the drive letter on the system. So, here we’ll change the letter of the external drive.
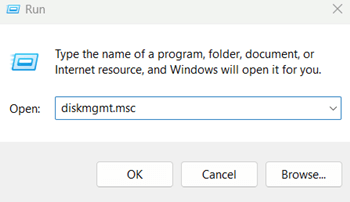
- Open Run > disk mgmt.msc > OK or Enter.
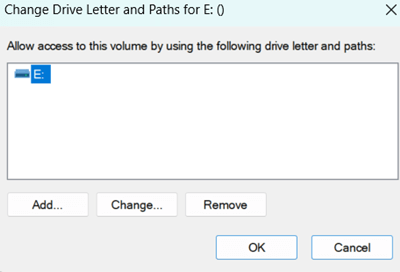
- Open in front of you is the Windows Disk Management tool. Then, right-click on the external drive and select Change Drive Letter and Paths.
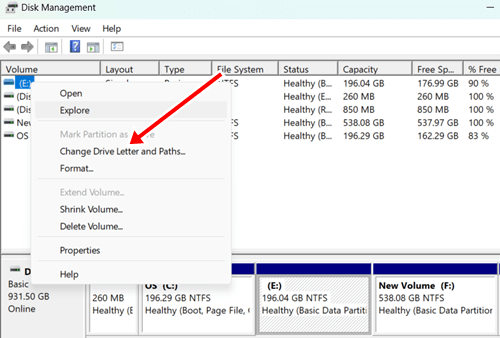
- Select Change in the next step.
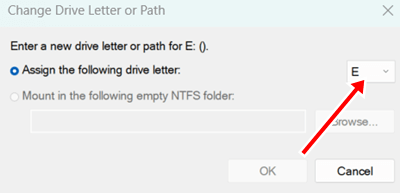
- You can change the drive’s name in the next window using a dropdown option. Select any name that still needs to be given to another drive. It will make your drive easier to access. The external drive will, however, revert to its original name if you reconnect it.
Final Words
It makes sense to use an external drive to store more info. But if you’re having trouble using it, these methods have been proven to fix external hard drive access denied problems. I hope that you have learned enough. You can ask for help in the comments if you still need it.