

Access to DALL-E 2 was formerly restricted, preventing you from creating AI art. However, the developers have now provided everyone access. So you can let your imagination go wild in this program, and we’ll teach you how. An in-depth guide on creating AI art with DALLE 2 is on the way. We’ll go through the most useful features to assist you in creating one-of-a-kind masterpieces.
How To Easily Create AI Art With DALL-E 2?
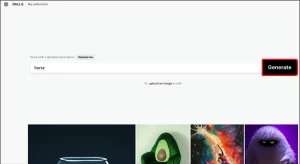
DALLE 2 is a one-of-a-kind website with similarities to other AI creation platforms. For instance, the initial step in using the software is to create an account.
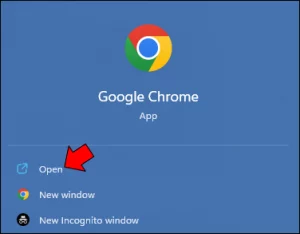
1 – Launch your web browser.

2 – Go to this website.
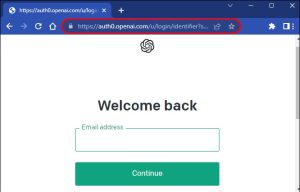

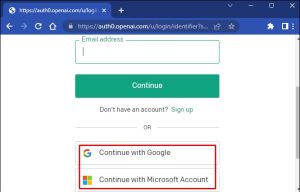
3 – Create a new account or sign in with your Google or Microsoft credentials.
The signup process is straightforward, but you’ll have to wait a few weeks before the administrators allow you access to the beta version. There are hundreds of new guests, so you’ll have to wait in line. Once your application has been granted, you should become acquainted with the fundamental DALLE 2 features. This way, you’ll know what to do while creating art.
Homepage Shortcut – When doing critical functions, such as image editing, you may wish to return to your homepage rapidly. If this is the case, click the DALLE button or the symbol next to it. It should be in the upper left corner of your screen.
My Collection – This menu can also be located in the top-left corner of your screen. It includes previously made art as well as variations.
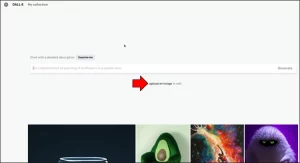
Surprise Me – This method creates prompts at random. It’s a great approach to keep experimenting with DALLE if you need more ideas. If you do not click the “Generate” button, it costs no credits. Alternatively, you can press the button as often as possible to obtain new prompts.
Generate – “Generate” is DALLE’s core tool. When you click it, it generates new images based on the text you type.
Uploading Images To Edit – A pop-up menu appears when you select this command from the menu where you entered your prompt. It enables you the option of uploading your files from a variety of sources.
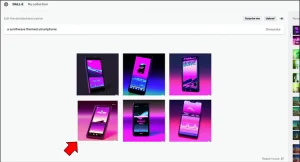
Sample Images – This feature should be easy to find on your main page. It displays image samples made using DALLE 2. Hover over a picture to see the text used to generate the file.
Profile Tab – This window displays your information, allowing you to access numerous features and purchase credits. It’s in the upper-right part of your screen.
New And Recent – A history symbol may be seen in the area under your Profile Tab. It features recent images as well as thumbnails for them. When you click the “New” button, the page clears all pictures and begins a new session.
Once you’ve mastered all of the features, you may begin creating AI art using DALLE 2. As previously said, the “Generate” feature will be your main workhorse. Here’s how you can put it to use.
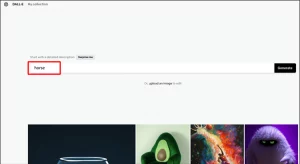
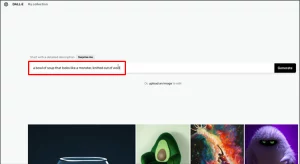
1 – Tell the program what you want to create, such as homes, clouds, horses, kids, etc.

2 – Select the “Generate” button.
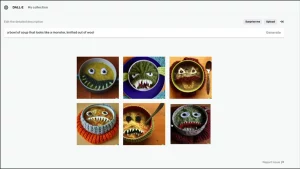
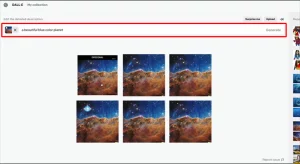
3 – Wait for the software to produce four pictures responding to your instruction. You should be charged one credit for this. Next, check whether you have enough credits to create several creations.
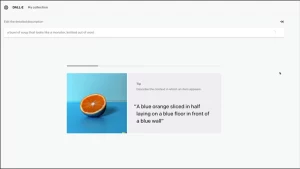

4 – Fill up the details with extra information to provide DALLE with more useful information. The more specific your descriptions are, the more accurate the creation will be. For example, instead of just stating “horse,” you may add “a horse in a meadow.”
5 – Repeat for each image. It may take several efforts to tell the platform to deliver the correct picture, but with experience, you’ll get there. Just ensure you have enough credits.
You can download your images after you’re satisfied with them.
1 – Select the picture you want to download.

2 – Navigate to the upper-right part of your project and click the arrow.
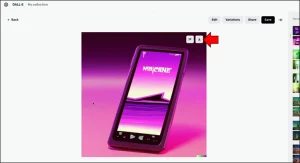

3 – Wait for the download to complete. Select the file in the bottom portion of your browser or double-click it from your “Downloads” folder to open it.
You should make changes to your AI art before downloading it. In this instance, you should take advantage of the editing features.
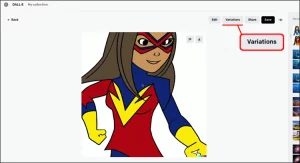
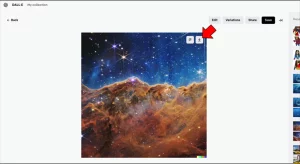
1 – Select a picture from your collection.
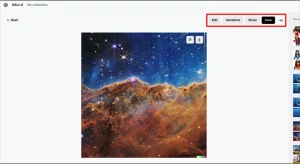
2 – Go to the image’s upper area and investigate the functions.
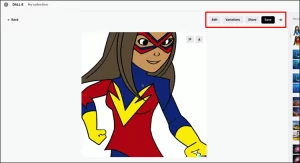
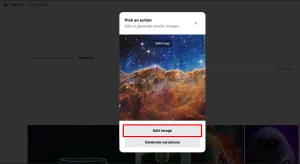
3 – Select “Variations” to begin the modifying process.
4 – Scroll to the bottom of the picture and select the appropriate tool for the action you want to execute.
For example, you may use an “Eraser” to remove a part of an image. It can remove any part of the picture. However, it should immediately offer the “Generate” option after removing a part of the image. Then, to replace the removed portion with a new element, click it. If the change seems excellent, save it as a favorite or download it.
5 – Now, to save an edited image, return to the image’s upper right part and click the “Download” or “Favorite” button.


DALL-E 2’s goal isn’t only to create AI creations. It also allows you to upload images from your computer and make variations. Follow the instructions below to add your picture and transform it into a work of art.
1 – Navigate to DALL-E 2 and sign in using your credentials.
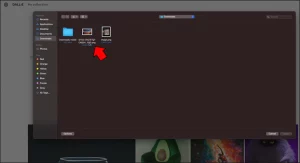
2 – Under the white “Generate” section, click the “Upload an image” button.
3 – Select a source for your picture. This might range from your “Downloads” folder to various game files.

4 – Select the image and let DALL-E 2 upload it to the worksheet.
5 – Crop the image using the square function. It can be restricting, but you should be able to create some gorgeous projects despite this.
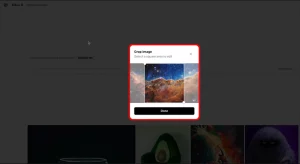
After you’ve uploaded and cropped your picture, you may make adjustments by clicking “Edit image.”
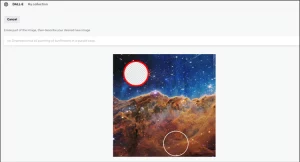
1 – To enter Edit mode, press “Edit Image.”
2 – Choose the tool you’ll need to select your artwork. You may use the “Eraser” feature to remove a part of the picture that doesn’t fit and replace it with better content using the “Generate tool.”
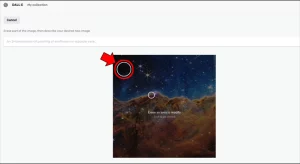
3 – To add new elements, enter your text prompt. If you’re unsatisfied with your work, try experimenting with “Generate” until you find it.
4 – Add variations or additional Editing tools as needed to complete your masterpiece.
5 – Save the image to your computer. You may edit it using the built-in programs or import it into more complex software like Photoshop.
Conclusion:
Apart from long lines and credits, DALL-E 2 is difficult to criticize. Once you’ve mastered it, you’ll be able to create stunning AI art to amaze your audience and advance your skills. The “Generate” and “Edit” functions are really useful, so use them while embellishing your work. Are you having trouble accessing the DALL-E 2 features? Do you prefer creating original AI art or altering existing pictures? Share your thoughts in the comments box below.


 Step by Step")

