
What does the Windows 10 error “No Internet Secured” mean? Have you ever seen this error? This error means that you can’t connect to the Internet.
Your device is connected to wifi, but the Internet doesn’t work. When this error happens, the wifi or Ethernet icon at the bottom right of the screen will have a yellow triangle.
Compared to other Windows versions, the “No Internet secured” error happens most often in Windows 10. This error could happen even if you are connected to the Internet through a router.
This error can be caused by several things, such as a change in the IP configuration settings or the need for your system to update or load new software.
Even if Windows has been updated, you may still need help with this issue. But don’t worry; you can quickly fix this using the following methods.
Best Ways to Fix “No Internet Secured” Error
The “No Internet Secured” error on Windows 10 can be fixed differently. To help you solve this issue, we’ve listed a few methods below.
1. Refresh the IP Configuration
There are a few commands that might help you solve the error.
- Do right-click the Start menu and select Windows PowerShell.
- Now, enter the two commands below:
-
ipconfig /release
ipconfig /renew
- AFTER YOU ENTER THE COMMANDS, your PC will be asked to request a new IP address from the router.
2. Change the Properties of your PC Connection
By following the given steps, you can change the properties of your PC’s wifi connection:
- Push the Windows Key and the letter R to bring up the run box. Enter the URL ncpa. cpl.
- Now, a window called “Network Connections” will open.
- Right-click on the wifi connection you want to use. Choose “Properties.”Change wifi’s properties
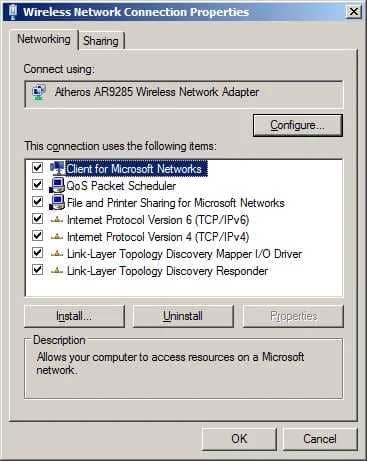
4. Now, make sure you select one of the following options:
Client for networks run by Microsoft
Microsoft network file and printer sharing
I/O driver for the link-layer topology finding mapper
TCP/IPv4 stands for Internet Protocol version 4.
TCP/IPv6 stands for TCP/IP version 6.
Responder for finding link-layer topology
- Connect on the network icon and look for the network causing the error.
- Take the Ethernet wire out of your computer. Turn on your computer’s “airplane mode.”
- Now, turn on the wireless router again. Turn OFF airplane mode after the router is ON.
- Reconnect wifi to your PC and see if everything is still working.
3. Update Your Network Device Driver
If you get a “No Internet Secured” error, it could be because of your Network Device Driver. To fix the issue, try to update it.
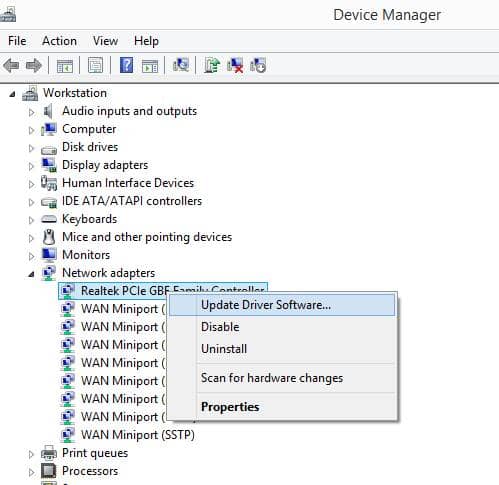
- Right-click on the Start menu and then move to Device Manager.
- Select your network device by looking for Network Adapters in the list.
- Now, right-click on it and click “Update driver.”
4. Start Windows over while the driver is being updated.
5. Once it’s done, Windows will join the network independently.
6. If this doesn’t work, don’t click Update driver. Instead, click Disable Device, restart your PC, and then turn it back on.
4. Disable Wifi Sharing Software
To fix this problem, follow the steps below: In Windows 10, the router driver may have an issue with the wireless router.
- Type ncpa. cpl and hit enter after pressing the Windows Key + R.
- Find Network Adapters here. Do right-click on the network you are connected to.
- Click on “Properties” and then “Sharing.”
- Now, uncheck “Microsoft network adapter multiplexor protocol” and other wifi sharing choices. Click on each item and read its description to determine which has
- something to do with sharing.
- Try connecting to the Internet now.
5. Reset Winsock
The Windows Sockets API could cause trouble. If so, you can reset Winsock to solve the “No Internet Secured” error in Windows 10.
- Type “Command Prompt” into the search box.
- Select Run as Administrator after clicking on it.CMD Run as administrator
- Tap on yes to give permission.
- Now, enter the given code to reset the Winsock.
netsh winsock collection reset
5. Wait a while and physically reconnect the network, or it might get connected on its own.
6. Set a Fixed DNS Server
Because there is no set DNS server, you typically face the No Internet Secured error on Windows 10. You can set a custom DNS in Windows so that the request goes through that DNS. To set a fixed DNS, follow the steps below:
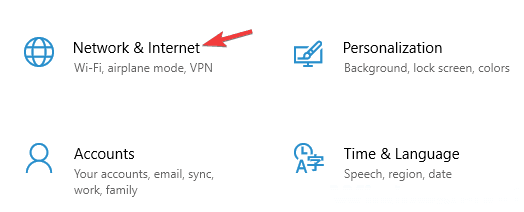
- Connect on “Settings” in the Windows Start menu. Windows Start Menu > Settings
- Choose Network and Internet > Change how the adapter works. Part of the Network and InternetChange the adapter’s settings
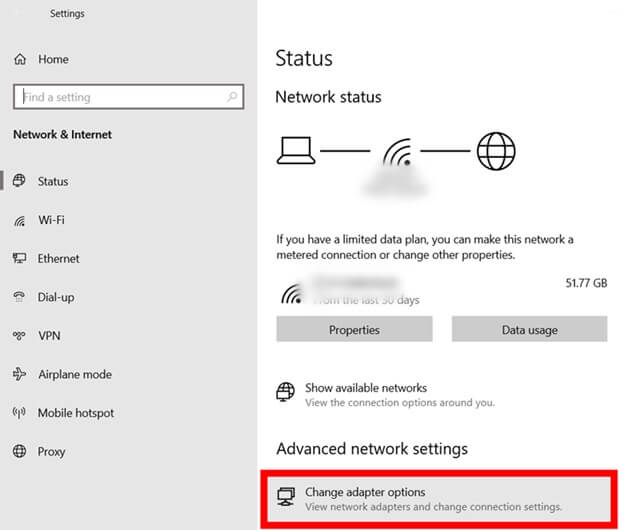
3. Now you can see a list of all the network devices. Right-click on the one you want to connect to and choose Properties.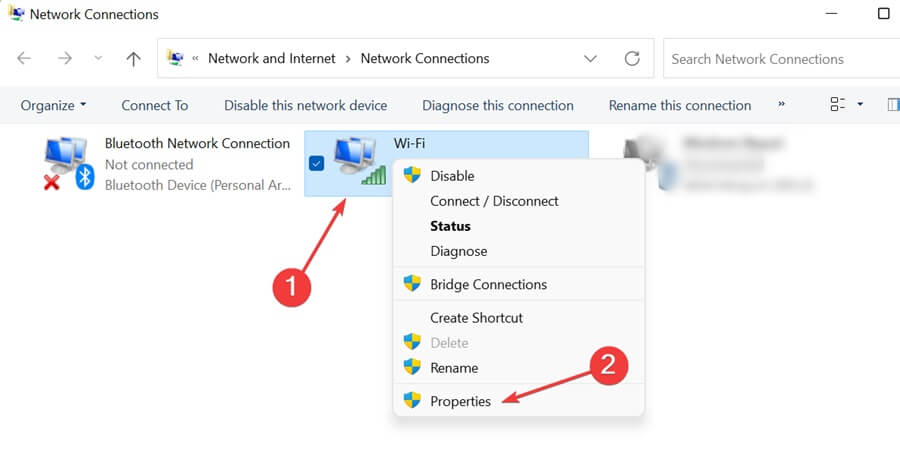
4. Double-click on Internet Protocol Version 4 (TCP/IPv4) to available Properties.
5. Pick Use the following DNS server addresses, enter the DNS address, then click Apply and OK.Use the following numbers for DNS servers:
Preferred DNS server: 1.1.1.1
Alternate DNS server: 1.0.0.1
Here, we’ve done our best to show how to fix the No Internet Secured Error on Windows 10. We hope that these ideas will help you fix your trouble. Let me know if you have any questions or ideas to add.